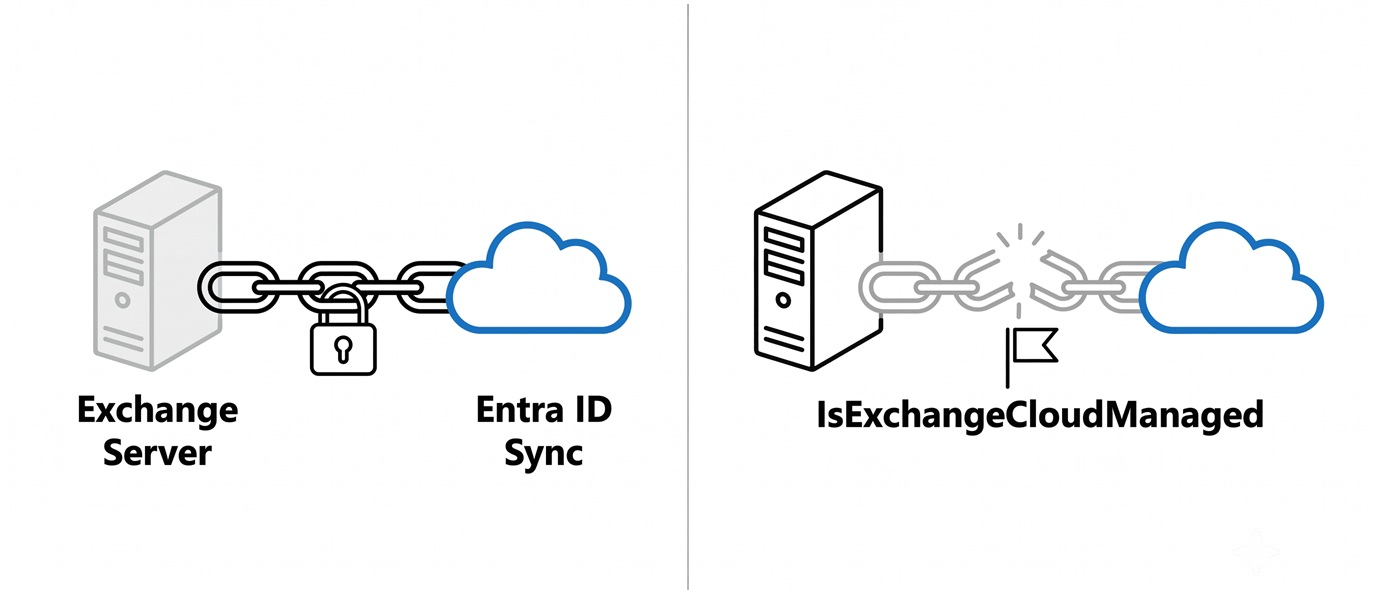
For years, hybrid Exchange environments carried an unspoken rule: even after every mailbox moved to Exchange Online, you still had to keep at least one on-prem Exchange server alive. Not for mail flow. Not for anything mailbox-related. Just to manage the recipient object information.
Microsoft has introduced a supported path to transfer the SOA Source of Authority for Exchange attributes to the cloud, and with it, a genuine, fully supported way to uninstall your last Exchange server for good. In this guide, we’ll walk through exactly why the old limitation existed, the mechanism that changes it, the prerequisites you need to clear first, and the one scenario where this still doesn’t apply.
Table of Contents
Why You Couldn’t Fully Remove Exchange Before?
Every hybrid Exchange environment has the same setup. Users live in on-prem Active Directory, and Entra ID Connect syncs them up to Entra ID. This sync only flows one direction. On-prem AD stays the boss (SOA), known as the Source of Authority.
That means Exchange Online could never edit certain attributes for synced users. Things like email addresses, distribution list membership, or mailbox permissions. Only on-prem Exchange had write access, because on-prem was still authoritative.

So even after every mailbox moved to Exchange Online, admins were stuck running a server with no real job. Just enough to keep attribute edits working. Admins nicknamed it the zombie Exchange server.
Object SOA Transfer and IsExchangeCloudManaged
Microsoft’s fix is called an Object SOA transfer. It moves the Source of Authority for Exchange attributes off on-prem AD and hands it to Exchange Online.
The switch itself is a single flag called IsExchangeCloudManaged which is part of the Set-Mailbox cmdlet in the Exchange Online Management PowerShell module. Set it to true for a user, and Exchange Online becomes authoritative for that user’s Exchange attributes, and you will be able to edit the mailbox information using Exchange Online

#Using ExchangeOnlineManagement
Set-Mailbox -Identity <user> -IsExchangeCloudManaged $true
For organizations who want this applied by default going forward, there’s also an org-wide setting.
Set-OrganizationConfig -ExchangeAttributesCloudManagedByDefaultMake sure that you have Entra ID Connect Sync version 2.5.190.0 or later
If you change your mind and want to return the SOA to Exchange Server, then you can use the same command but set the value to $false.
What Changes Once It’s Enabled
Once IsExchangeCloudManaged is set to true, Exchange Online takes over write access for that user’s Exchange attributes.
Admins can now update things like email addresses or mailbox permissions directly in the Exchange Online web interface or PowerShell. There is no need to touch on-prem Exchange Admin Center or PowerShell for these changes anymore.
But there is a catch: this only allows you to update Exchange mailbox properties; you will not be able to modify Active Directory properties. The SOA for Active Directory properties will remain with Active Directory, such as First Name, Display Name, and SamAccountName.
Read more about the Identity, Exchange Attributes and Writeback to see which properties you can modify.
See It In Action: Change the SOA a Single Mailbox
Always, before starting, make sure you are using the latest version of the Exchange Online Management Module.
In my lab, there is an Exchange Online Mailbox (Migrated Mailbox) named Mailbox1. When trying to modify the properties for this mailbox, such as adding an Alias or setting Hide From Address list, an error is thrown
Error executing request. The operation on mailbox “7e993ebc-9f87-4c3c-8d6a-c8065b3a9707” failed because it’s out of the current user’s write scope. The action ‘Set-Mailbox’, ‘HiddenFromAddressListsEnabled’, can’t be performed on the
object ‘7e993ebc-9f87-4c3c-8d6a-c8065b3a9707’ because the object is being synchronized from your on-premises

Let’s now set the SOA to Exchange Online
- Open PowerShell 7
- Import the Exchange Online management Module
- Type the following command
- Set-Mailbox Mailbox1 -IsExchangeCloudManaged $True
The result of the above command returns no output; this means that the execution was successful

- Refresh the view and try modifying these properties.
- The result is a successful change

The migrated mailboxes that have their SOA now in Exchange Online are just doing nothing in Exchange Server. Even if you change any properties to these local objects, it will not be reflected in Exchange Online; it’s just a dummy reference.
If you try to change a non-Exchange-related property, like DisplayName
PS C:> Set-Mailbox Mailbox1 -DisplayName "Mailbox Number1"You will get the following error
Write-ErrorMessage : ||Cannot modify account attribute as only the Exchange attributes are editable for this user.
None of the parameters were changed. Learn more: https://aka.ms/ExchangeCloudManaged
This was the only missing piece in the uninstalling Exchange Server puzzle. But there is a small challenge here.
Some applications read user and mailbox information from Active Directory; moving the SOA to Exchange Online will render this information outdated.
Cloud Sync Writeback for Migrated Users
Setting IsExchangeCloudManaged to true stops attribute sync from on-prem AD into the cloud, but it does not update on-prem AD in return. Changes made in Exchange Online stay in Exchange Online unless writeback is turned on.
Writeback solves this. Through Microsoft Entra Cloud Sync, changes to key Exchange attributes made in the cloud, such as a new proxy address, get synced back down to on-prem Active Directory automatically.
This matters for organizations that still rely on-prem AD data for other tools or reporting. Without writeback, on-prem AD would slowly drift out of sync with reality. With it, on-prem AD stays accurate even though Exchange Online is now the one making the changes.
One requirement to flag here. Writeback currently works through Microsoft Entra Cloud Sync only. It does not work with Microsoft Entra Connect Sync.
You can have both Entra ID Connect and Cloud Sync work together.
Configure Entra ID Cloud Sync
The first thing is to download and install Entra ID Cloud Sync. We will use this provisioning agent to write back the configuration to the AD server
Once the agent is installed, start by creating a new configuration:
- Open Entra ID
- Click on Entra Connect
- Click on Cloud Sync
- In the New Configuration, select EXO to AD attribute Sync

If the provisioning agent (Cloud Sync) is installed and configured correctly, then you should see your domain name listed in the list of active agents.

Click on Create. This creates the required configuration to prepare the write-back for EXO to AD.
This post will not cover the details of Entra ID Cloud Sync, just the basics to see how the writeback works
Let’s test the write-back for the Mailbox1 object; let’s try to add an additional email address and call it Mailbox-one@testideas.net

In Cloud Sync, click on Provision on Demand, type the user you want to sync their EXO to AD, and click on Provision
You should see something like this

This shows that the test was successful, and we can confirm from the Active Directory object

Hope that helps. If you are planning to update or patch your Exchange Server, then take a look at this PowerShell module that can help you in saftly set your Exchange in maintenance mode
